SimpleOpenNI
Use Kinect 1 or 2 sensors with Processing 3
![]()
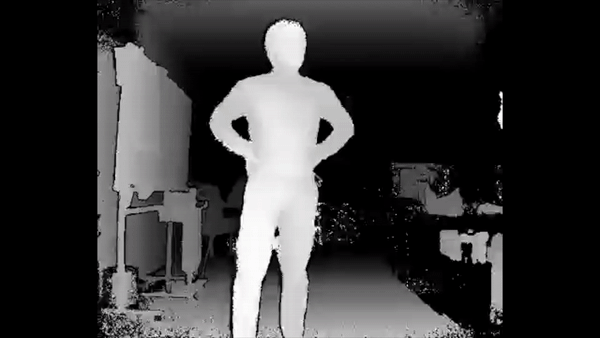
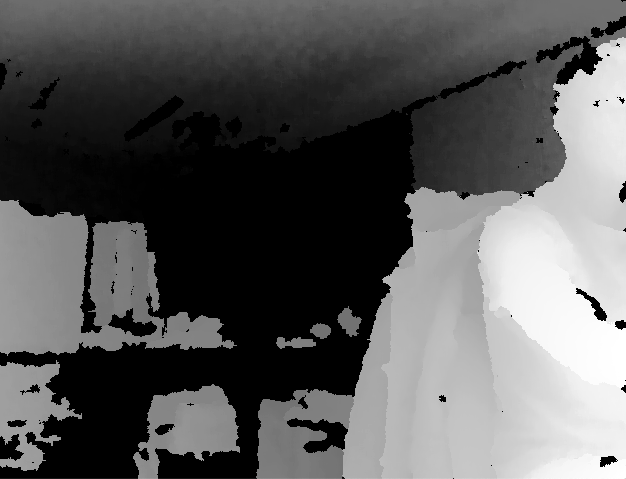
Example of skeleton tracking using KinectV2
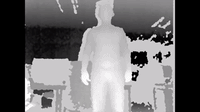
Example of skeleton tracking using KinectV1
I update the driver to can use this library with Processing 3 and 2 with Kinect V1 and V2
Kinect V2 just works with USB 3.0
The instructions to Setup the Kinect are written for Mac OS High Sierra users.
Getting Started
These instructions will get you a copy of the project up and running on your local machine for development and testing purposes. See deployment for notes on how to deploy the project on a live system.
Prerequisites
- Processing IDE
- A computer with OSX
- Kinect V1
- Kinect V2
Alternative:
- Atom
- Arduino IDE
- Arduino board
Installing
Install the last stable version of Processing IDE, you can download it from this page:
For OSX you just need to unzip the folder and paste the App in the applications folder.
-
Repository for Processing V3.5.3:
-
Repository for Processing V3.5.2:
-
Repository for Processing V3.4:
-
Repository for Processing V3.3.7:
-
Repository for Processing V3.3.6:
-
Repository for Processing V2.2.1:
The library has compatibility with Kinect V2 just in Processing V3.5.2, V3.4, V3.3.7 and V3.3.6
Once you have downloaded the library unzip it and follow the next steps:
-
Select the folder SimpleOpenNI and choose:
Edit > Copy -
Go to the Finder
Choose Go > Go to Folder... and enter “~/Documents/Processing/libraries/"
Without the quotation marks. Click OK.
- Press Cmd-V or choose Edit > Paste menu to put “SimpleOpenNI” in this location.
Test a program sample:
-
Connect your Xbox Kinect motion sensor to your computer in an available USB port. Ensure the sensor is connected to a power source.
-
Open Processing IDE
-
Copy and paste the next example in the sketch:
import SimpleOpenNI.*;
SimpleOpenNI context;
void setup()
{
size(640, 480);
context = new SimpleOpenNI(this);
if (context.isInit() == false)
{
println("Can't init SimpleOpenNI, maybe the camera is not connected!");
exit();
return;
}
// mirror is by default enabled
context.setMirror(true);
// enable depthMap generation
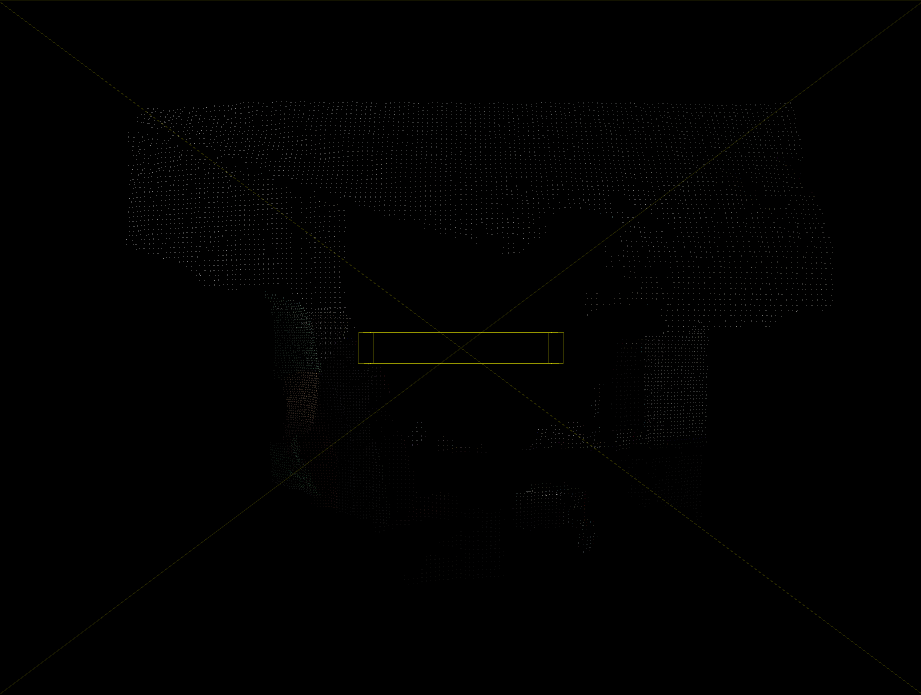
context.enableDepth();
// enable ir generation
context.enableRGB();
}
void draw()
{
// update the cam
context.update();
background(200, 0, 0);
// draw depthImageMap
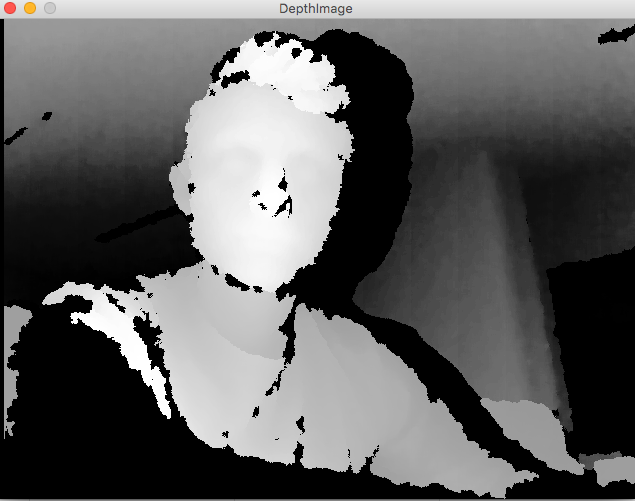
image(context.depthImage(), 0, 0);
// draw irImageMap
image(context.rgbImage(), context.depthWidth() + 10, 0);
}
This is one example of how to activate the deep camera of the Kinect.
For more examples check the next links:
-
For Processing 3.4 the examples are added directly in the library, the Remove_Background_RGB example just work with Kinect V1
-
For Processing 3.3.7 check this branch:
Kinect V1 and V2 Processing 3.
- For Processing 3.3.6 check this branch:
Kinect V1 and V2 Processing 3.
- For Processing 2.2.1 check this branch:
Also you can use the next text editor to build programs:
- Atom
- Open package manager -> Install new Package -> Processing
Use this package to run Processing Sketch inside Atom
Contributing
Please read CONTRIBUTING.md for details of the code of conduct, and the process for submitting pull requests to us.
Versioning
I use SemVer for versioning.
Author of SimpleOpenNI library:
Max Rheiner
Supporter
Antonio Vega Ramirez:
License
This project is licensed under The MIT License (MIT) - see the LICENSE.md file for details
Images
![]()
Video
Reference
This library was created by Max Rheiner and his Project: